Plans and paying
A plan is one payment for one, two or three years. Nothing renews or charges by itself. This guide shows how to pick a plan, sign up and pay, and later renew, upgrade or move to a smaller plan.
For new and current members.
The pictures show a phone. On a computer the plans sit side by side, and the rest works the same way.
On this page
Pick a plan
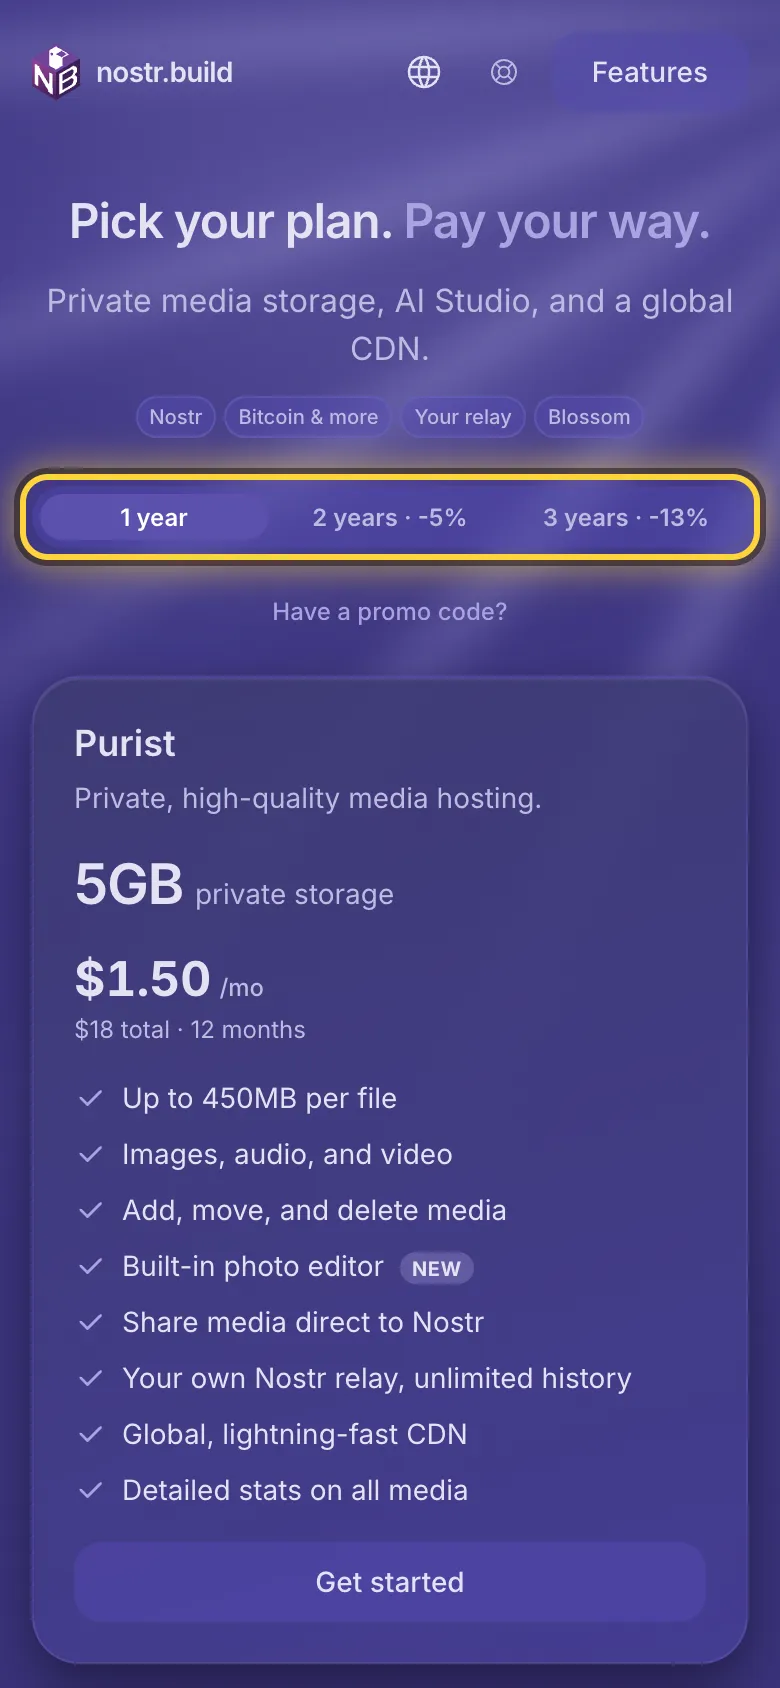
- Open the plans page. Each plan shows its storage, what it includes and its price.
- Choose one, two or three years at the top. A longer term costs less per month, and the prices change to match.
- Tap Get started on the plan you want.
The price per month is only to compare: you pay the whole term at once, and nothing renews or charges by itself.
Sign up
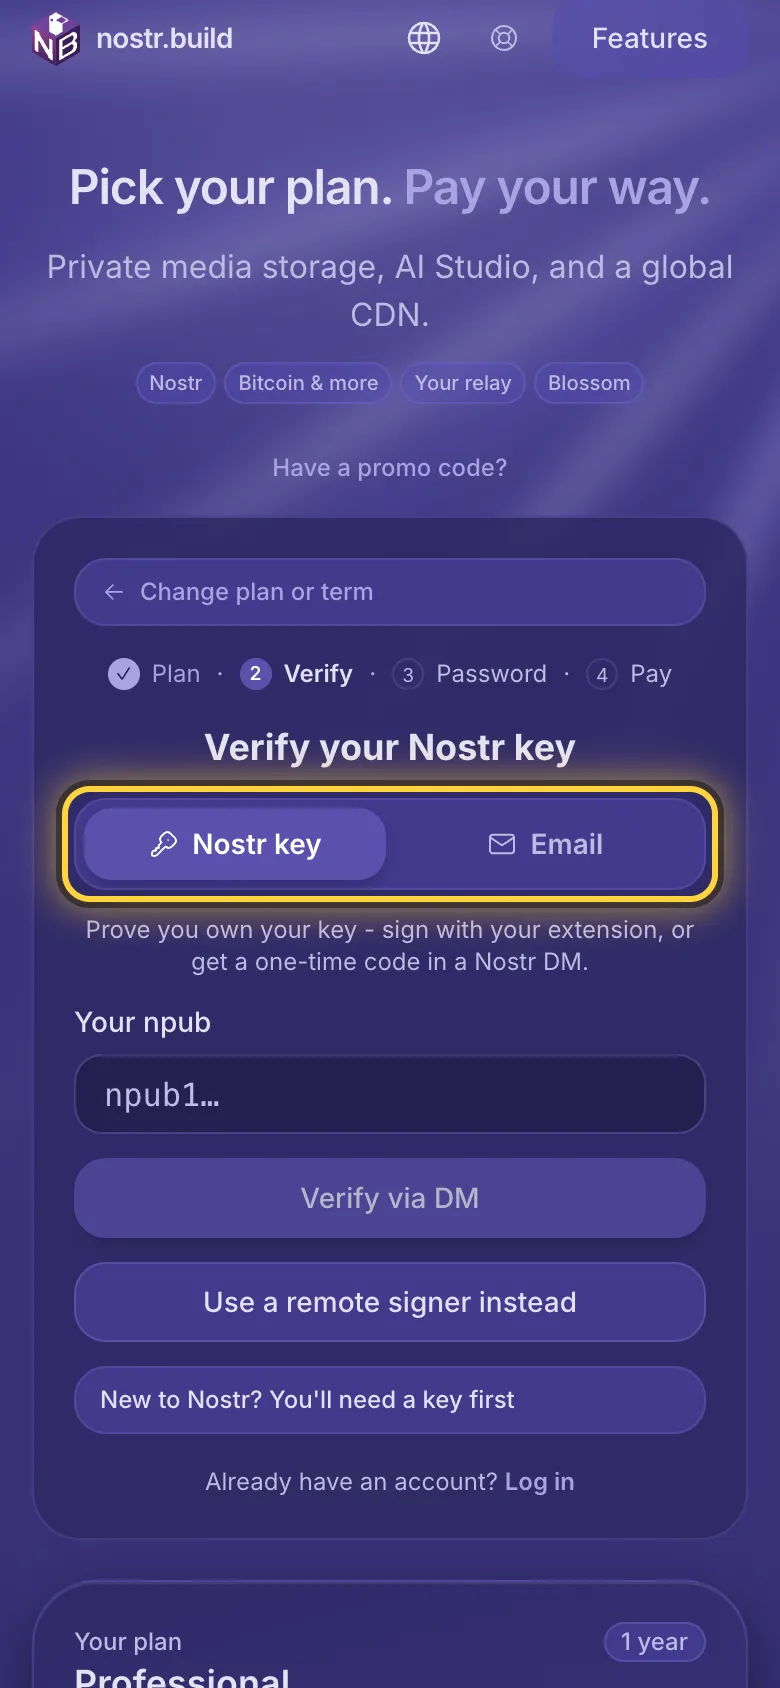
- Choose Nostr key or Email.
- Prove the key or the address is yours. If you have a Nostr extension, tap Verify with extension. With a signer app, tap Use a remote signer instead if you see it. Or tap Verify via DM for a code by Nostr message. For an email address, tap Email me a code.
- If you asked for a code, type it. Then choose a password.
- Tick the box to agree to the terms and tap Create account & pay. The payment window opens.
Pay
The payment window comes from our payment service, so its words may be in English. You can pay:
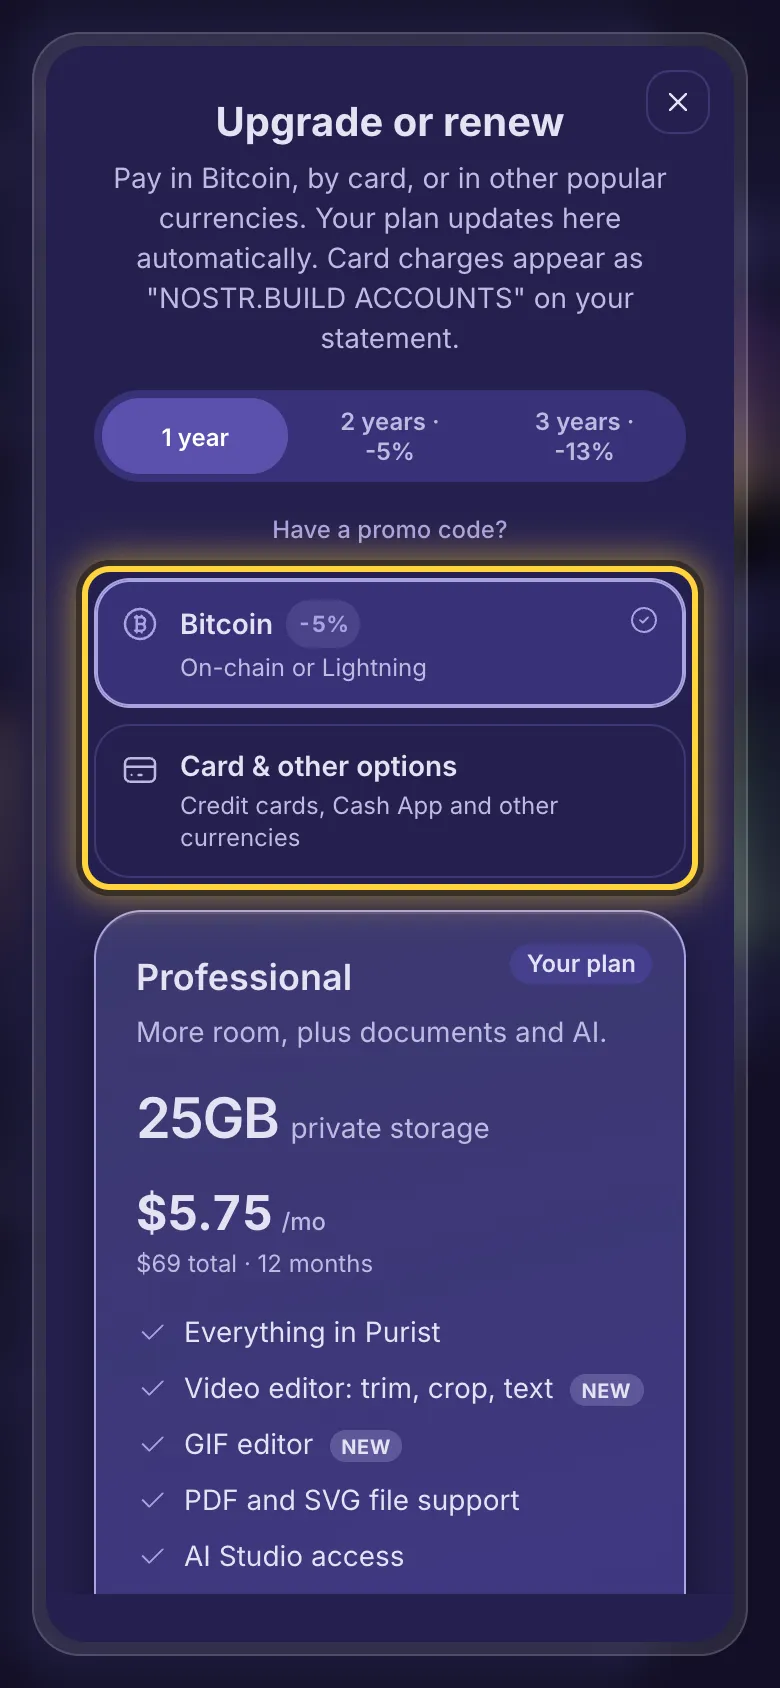
- In Bitcoin, on-chain or with Lightning: scan the code or copy the address into your wallet.
- By card, Apple Pay or Google Pay, Cash App, or in other currencies. Card charges show as NOSTR.BUILD ACCOUNTS on your statement.
You can close the window while a payment is on its way. Your plan turns on by itself as soon as the payment arrives. Reopen the payment window opens the window again.
Renew
- Open the menu (three lines, top left) and tap Upgrade or Renew next to your plan. When your plan is about to end, a button at the top of the page does the same.
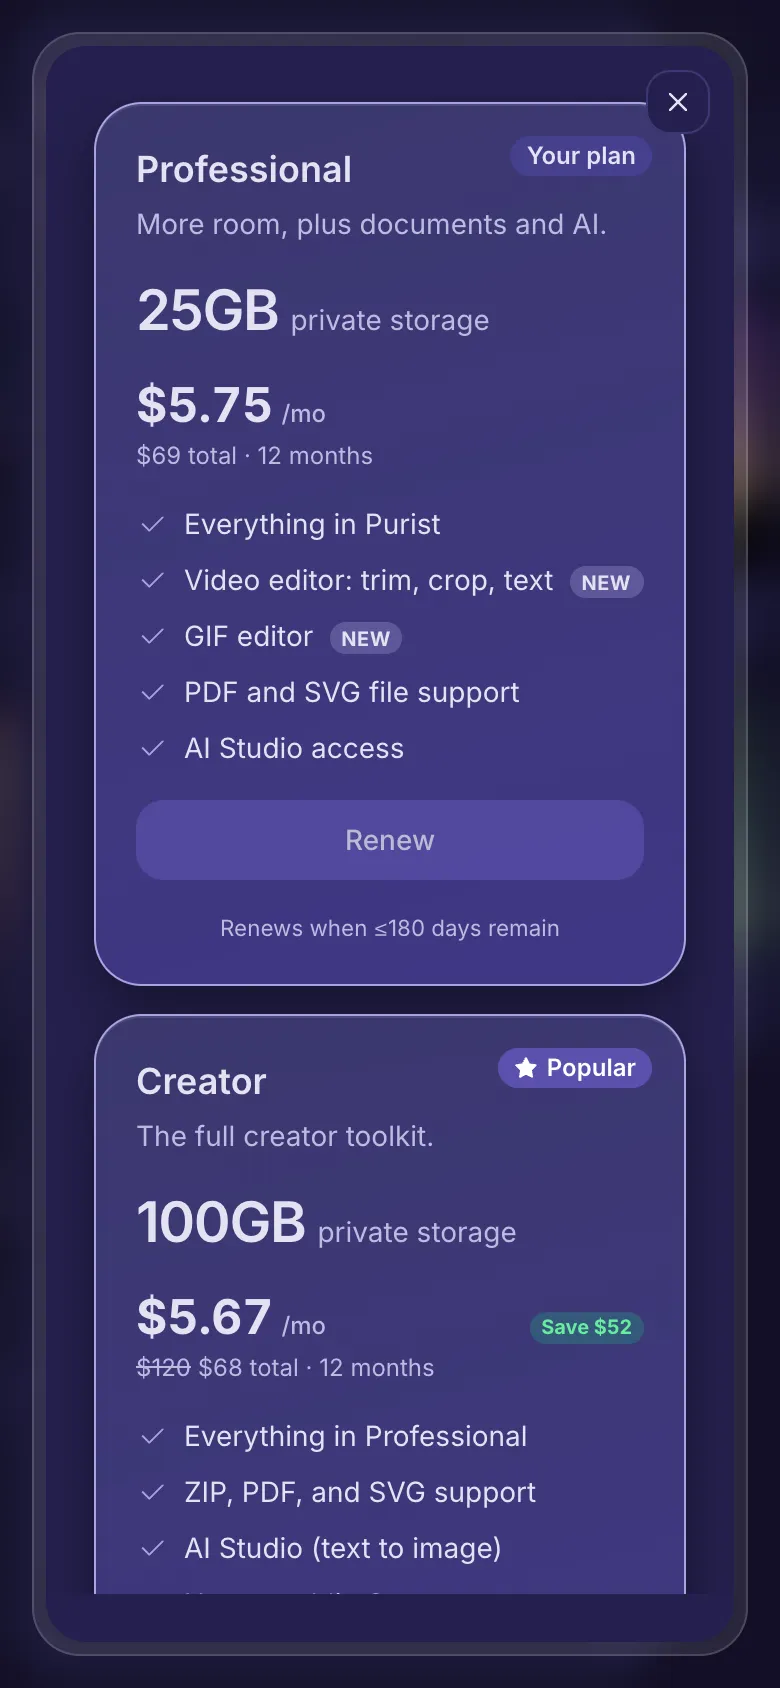
- Pick one, two or three years.
- Tap Renew on your current plan and pay.
You can renew once 180 days or fewer are left. The new term starts after the days you still have, so nothing is lost by renewing early.
Move to a bigger plan
- Open the plan window as above.
- Tap Upgrade on a bigger plan and pay.
The time left on your plan counts toward the price: you see the full price crossed out and what you pay instead. With 30 days or fewer left there is no credit, so renew and upgrade later, or upgrade at full price.
Move to a smaller plan
- When 180 days or fewer are left, the plan window also shows the smaller plans, and its title becomes Change your plan.
- Each one shows the date the new plan runs until, and how many bonus days the value left on your plan turns into (none with 30 days or fewer left).
- Moving to Purist or Professional needs a file check first: tap Check my files. Files that are too large or not supported on the smaller plan must be deleted before you can switch. Your files must also fit the smaller plan with plenty of room to spare.
- Tap the button to switch and pay.
Invite friends
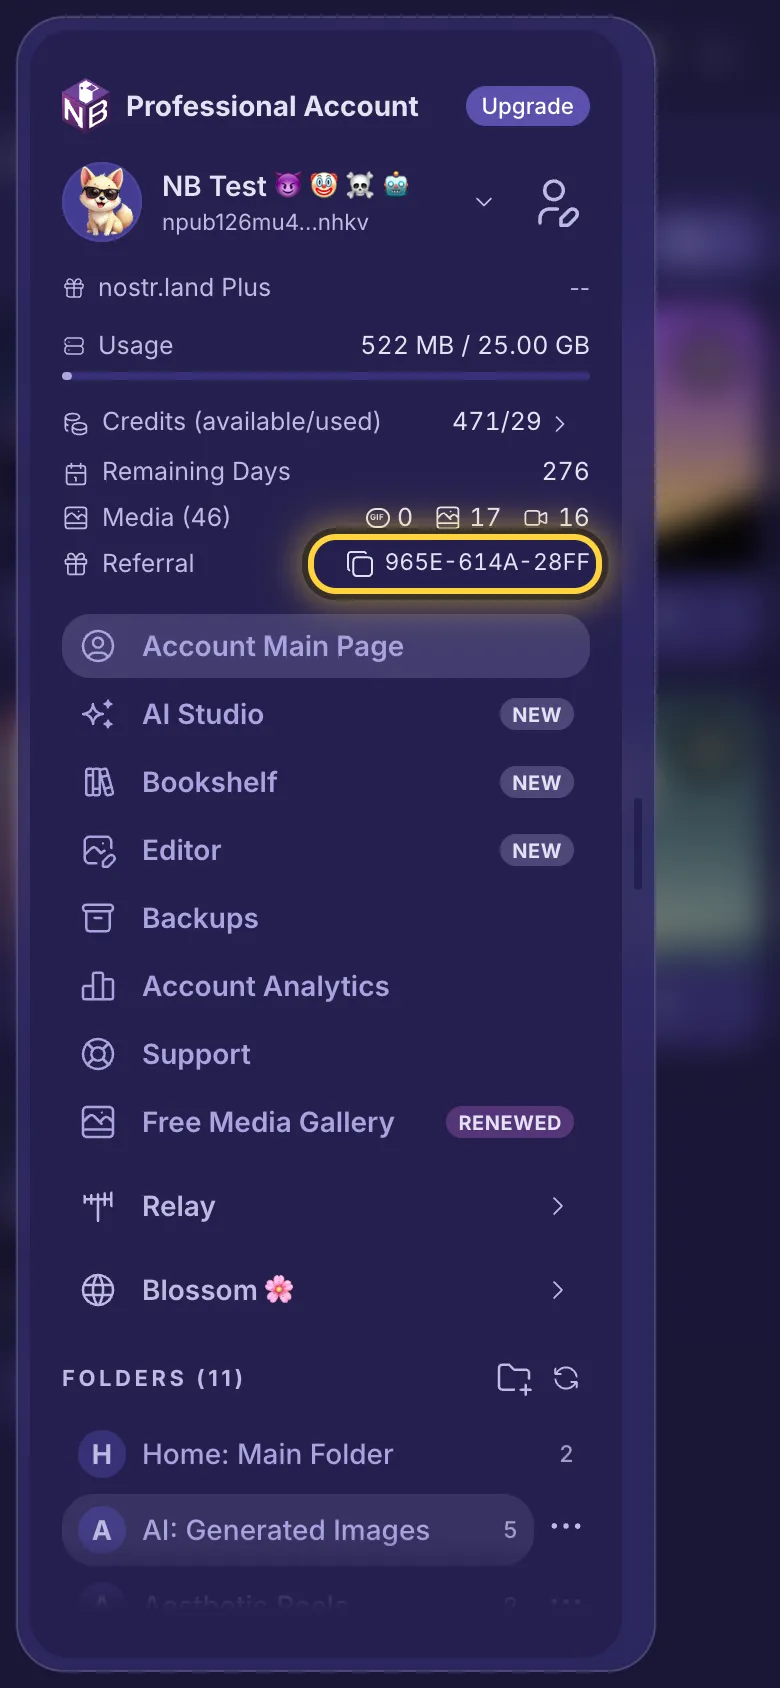
- Open the menu and tap the copy button in the Referral row. Your link is copied.
- Send it to a friend. When they sign up with it for Professional, Creator or Advanced, you both get bonus AI credits.
The referral link comes with the Professional, Creator and Advanced plans while they are active. The credits depend on the plan and term your friend picks.
After you pay
- You get a receipt as a Nostr message if your account has a Nostr key, and by email if it has a confirmed email address with email notices on.
- The menu shows your plan, the storage you use and the Remaining Days.